A bubble level is one of the oldest tools in the box, and a laser level looks like the modern replacement. For many jobs it is, and a laser can mark a straight line across a room in seconds that would take several minutes and an assistant with a long bubble level. But a laser is not a better bubble level. It is a different tool with its own failure modes, and the bubble level remains the right answer for a good share of everyday tasks.
This guide compares the two, explains the three main laser types and what their specifications mean, covers beam colour and visibility, detectors for outdoor work, how bubble level length and vial accuracy affect results, and how to check that any level is telling the truth. No single standard governs these accuracy claims, so figures are read as the maker's statements.
What a bubble level does
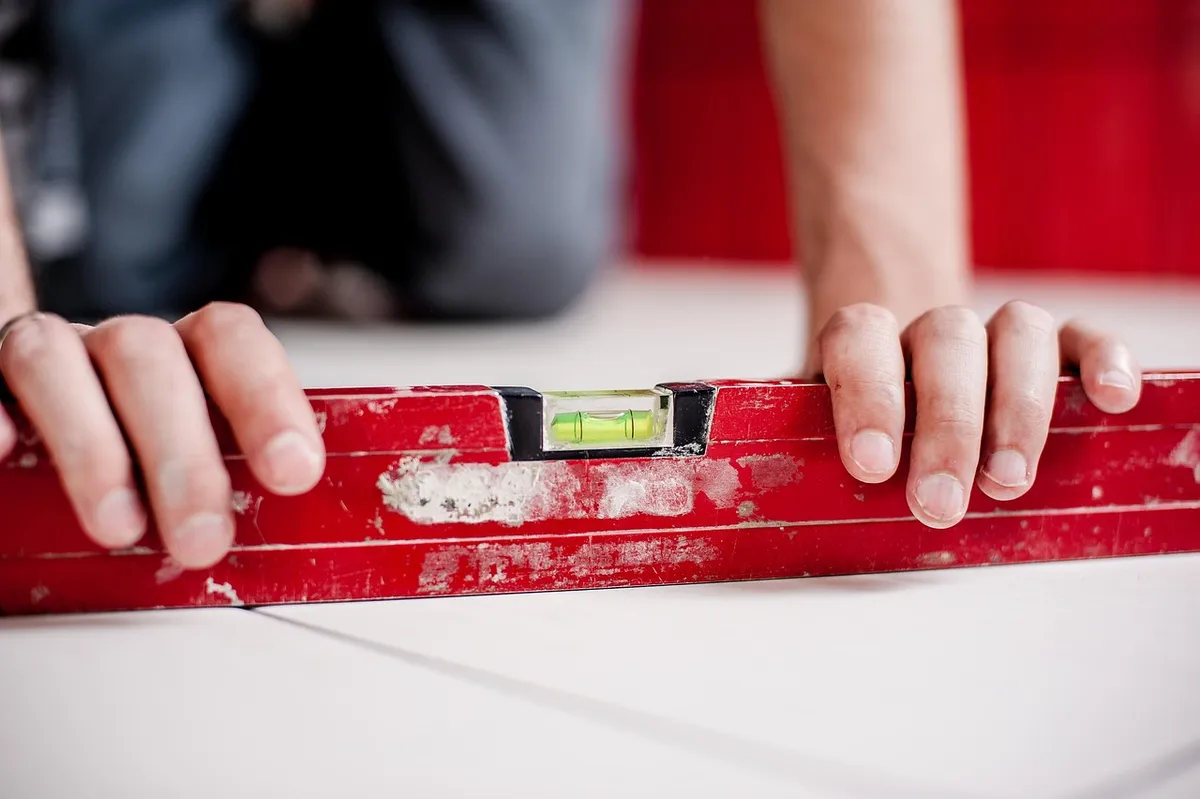
A bubble level has a sealed vial of liquid with an air bubble. When the surface is level, the bubble sits between two marks. It works by gravity alone, needs no batteries, and is hard to break in normal use. Most have vials for level, plumb (vertical) and sometimes 45 degrees, in a frame of aluminium or plastic with a flat, true edge.
It is ideal for checking a single surface or short span: a shelf, a door frame, a picture, a worktop, a fence post. Its limits are reach and reading. The level tells you about the surface it touches, so checking across a wide room means a long level or repeated moves, and errors add up with each move. You also need to see the vial, which can be awkward overhead or in poor light.
The three laser types
Line lasers project one or more straight lines, usually a horizontal line, a vertical line or a cross. They suit interior work such as hanging cabinets, aligning tile rows, setting shelves and marking a straight line around a room. A cross line laser shows both horizontal and vertical at once, and models with multiple lines project a full 360 degree horizontal line around the room.
Rotary lasers spin a point of light fast enough to appear as a line all around, and are used for large sites, outdoor grading, foundations, fences and decks. They cover long distances and are typically paired with a detector, as bright daylight overwhelms the beam. They cost more and are more than most home projects need, though they are justified for large outdoor work.
Dot or point lasers project one to five points, such as up, down, left, right and front. They transfer a point from floor to ceiling, mark plumb positions for pipes and fixtures, and align posts. They suit specific tasks such as locating a ceiling fixture directly above a floor mark, and are not for drawing a continuous line.
| Tool | Output | Best for | Limitation |
|---|---|---|---|
| Bubble level | Vial reading on one surface | Short spans, small jobs, reference | No reach across a room |
| Line laser | Horizontal and vertical lines | Indoor tile, shelves, cabinets | Hard to see outdoors |
| Rotary laser | 360 degree rotating plane | Large sites, grading, decks | Costly, needs a detector outdoors |
| Dot laser | Single or several points | Transferring points, plumb | No continuous line |
Self-levelling and accuracy specs
Most modern lasers are self levelling. A pendulum inside swings freely, and when the tool is roughly level, gravity brings it to true level and the laser projects a level line. If the tool is tilted beyond its range, often a few degrees, it warns with a blinking beam or an alarm, and you should reposition it. A lock lets you project a line at a deliberate angle, for stairs or slopes, with the self levelling turned off.
Accuracy is usually stated as a deviation over a distance, such as a few millimetres over ten metres, or a fraction of an inch at a set distance. It describes how far the beam may stray from true level over that distance. A smaller deviation is better, and the figure grows with distance, so a laser stated as accurate at ten metres is less accurate at thirty. No source documents a single test that all brands use, so compare figures cautiously and check the stated distance.
The beam also has thickness, which adds uncertainty. A wide, fuzzy line at distance is harder to read to a fine tolerance than a thin one. For tile and finish work, a laser with good accuracy and a crisp line pays off. For rough work such as setting fence posts, loose tolerance is acceptable. Remember that a laser is only as reliable as its calibration, and a drop can knock the pendulum out of true.
Green versus red beams
Red lasers are cheaper and common. Green lasers are noticeably brighter to the human eye, which is far more sensitive to green light, so a green line is easier to see in bright rooms and at greater distance. They cost more and use more battery.
For indoor work in typical lighting, a green laser is easier on the eyes and clearer in a bright room with windows. A red laser is adequate in dim rooms and at short range. Outdoors in daylight, neither colour is easy to see at distance, which is why a detector is used. Wearing laser enhancing glasses, tinted to filter other light, helps to see the beam, though they do not protect against the laser.
Treat any laser with respect, never staring into the beam, and keep it away from children and pets. Class 2 lasers, typical for consumer levels, are considered safe for brief accidental exposure, because the blink reflex limits it, but deliberate staring is not safe. Check the class label and follow the manual.
Detectors and outdoor use
A detector, also called a receiver, is a small handheld unit that senses the beam and beeps or shows when it is level with it. It extends the working range of a laser far beyond what you can see, and works in bright sunlight when the beam is invisible. It is essential for rotary lasers outdoors and useful with line lasers that have a pulse mode.
Pulse mode makes the laser flash at a high rate, which the detector can read, though the line is dimmer to the eye. Check that a laser has pulse mode if you want to use a detector, and that the detector is compatible with the model. For outdoor work such as decks and fences, a rotary laser with a detector on a staff or a pole lets you read heights across a site quickly. Mount the laser on a stable tripod, since the beam travels far and any wobble is magnified at distance. Our guide on torque wrenches covers another measurement tool where accuracy depends on care.
Bubble level length and vial accuracy
The length of a bubble level matters. A longer level spans more of the surface and averages out small bumps, so a 1.2 m level gives a better reading over a long run than a 30 cm one. A short level is easier to carry and handle, and works for small jobs. A mid size, around 60 cm, is a good general choice, and many people own a long one and a torpedo level, a short pocket model for tight spaces.
Vial accuracy is stated as a deviation per unit length, often in millimetres per metre, and a tighter figure means a more sensitive vial. A good quality level has a figure of well under a millimetre per metre, whereas cheap ones are looser. A magnetic edge helps on steel, and a hand hole eases carrying. Aluminium box frames resist bending, while a bent level reads wrongly, so store it flat and never use it as a lever or a straightedge on rough work.
Read the bubble from straight in front, as viewing at an angle shifts its apparent position. The bubble sits slightly off centre if the level is not exactly flat, and the width of the gap on each side gives a feel for how far off you are. A level with a clear vial and a bright liquid is easier to read in poor light.
Checking a level is accurate
A bubble level is easy to check with the flip test. Place it on a flat surface, mark the position of its ends and note where the bubble sits, then turn it end for end in the same place and read again. If the bubble sits in the same place both ways, the level is true. If it reads differently, the vial is out of true, and the error is half the difference. Cheap levels sometimes cannot be adjusted, and are best replaced.
A laser needs a different check. A common method is to set the laser midway between two walls, mark the beam on both, then move it close to one wall and mark again, and compare the height difference between the two marks on the far wall. If the two marks differ by more than the stated tolerance, the laser is out of calibration, and a manufacturer service may be needed. Some lasers have a calibration mode that lets you correct it.
Check any level before an important job and after a drop, and keep a good bubble level as a reference to cross check a laser. Store lasers in their case with the pendulum locked, away from knocks and temperature extremes. Batteries should be removed for long storage, and a charge level check before a job avoids a dim, drifting beam. If you use your level with a multi tool for flush trimming, see our guide to oscillating multi-tool uses as well.
Choosing for your jobs
For a home owner who hangs pictures, fits shelves and builds occasional furniture, a good 60 cm bubble level and a small cross line laser cover almost everything. For tiling, kitchen fitting and anything that runs around a room, a line laser, preferably green, saves time and reduces errors. For decks, fences and landscaping, a rotary laser with a detector, or a line laser with pulse mode and a detector, is a better fit.
Keep the bubble level even if you buy a laser. It is a reliable check, it works when batteries are dead and it measures the surface itself, which the laser does not. Look at how the laser mounts: a pivoting base, a magnet, a clamp and a thread for a tripod all add flexibility. Check battery life, the case and the warranty, and read owner feedback on how accuracy holds up after months of use. Browse the Tools and DIY section for further guides.
Matching the tool to common jobs
Hanging a row of pictures or shelves is a classic case for a cross line laser. Mark the height once, project the line along the wall and hang each item to the line, with no repeated measuring and no accumulating error. A bubble level still has a place for the final check on each item. For a single shelf, the bubble level alone is quicker than setting up a laser.
Tiling and flooring benefit greatly. A laser line across the floor sets the first row straight, and a vertical line on a wall helps to set the start point for wall tiles. For a kitchen, a laser line at the height of the worktop shows whether the cabinets are lining up along a long run, which a bubble level cannot show across a corner. Plumbing and electrical work uses plumb points to align fittings between floors.
Outdoor jobs vary. For a fence, a string line may be enough, but a laser with a detector shows whether posts are at the same height over undulating ground. For a deck, a rotary laser sets the height of every post footing to the same datum, and a bubble level checks each joist. For setting a drain to a fall, a bubble level with a slope vial or a laser set to a slope is used.
For tasks where the laser is not suited, such as checking whether a door is plumb in its frame or a single cabinet is level, the bubble level is quicker, cheaper and clearer. Many experienced fitters carry both and pick up whichever the moment needs.
Common mistakes and non-obvious failures
The most common mistake is trusting a laser that has not been checked. A laser that has been dropped or stored in a hot car can be out of true by an amount you cannot see, and the line looks perfectly crisp. Check it before an important job. A second mistake is using a laser on an unstable surface: a tripod on soft ground or a laser placed on a wobbling shelf gives a line that moves, and the error is larger at distance.
Less obvious is the effect of the beam's thickness and the surface it lands on. A wide beam on a rough or dark surface is hard to read, and reflective surfaces such as glass or polished metal can scatter the beam. Use a target card or mark the middle of the line, and measure from the same side of the line each time, to avoid reading the width as error.
Another failure is leaving the pendulum unlocked in transit. Most lasers have a lock switch, and carrying the tool with the lock off can damage the mechanism. A fourth is forgetting that a self levelling laser compensates only within a small tilt. If the base is tilted beyond range, the tool warns you, but some people ignore it, and a line that blinks is not valid. Finally, with a bubble level, the mistake is reading it from an angle, or using a level with a bent frame, which reads wrongly.
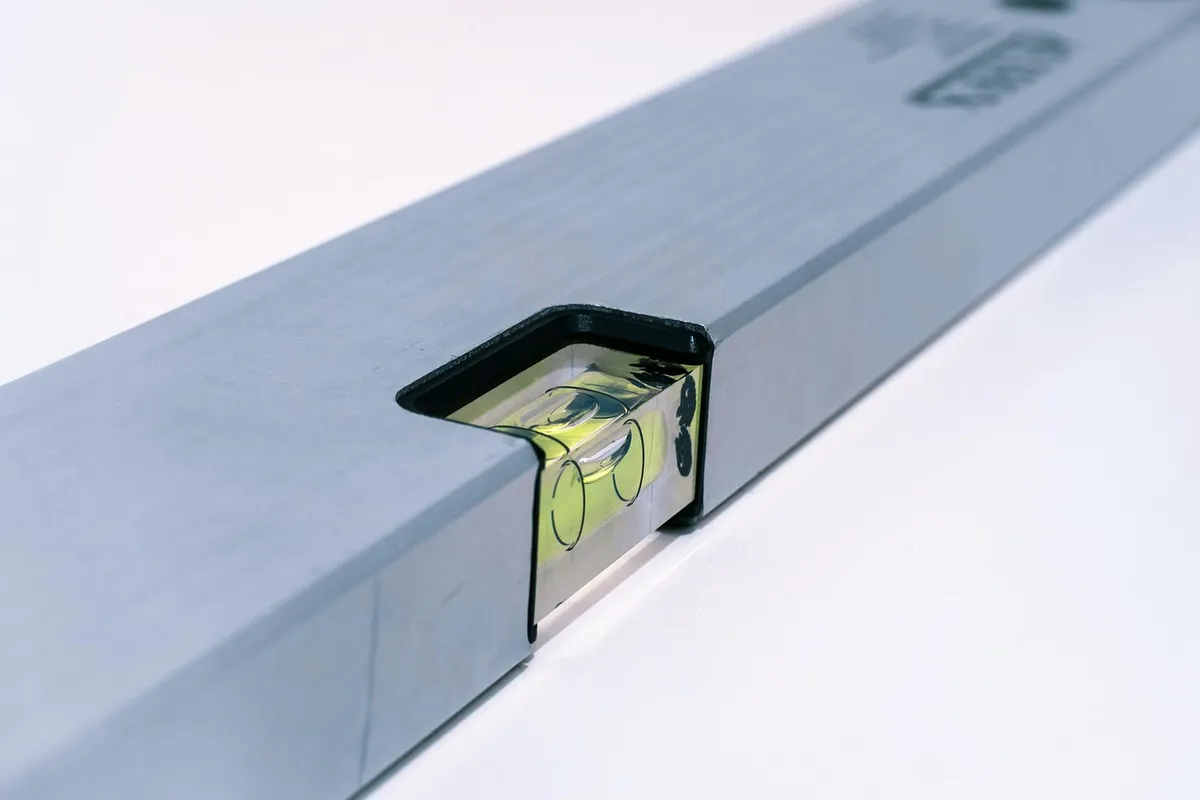
A level also helps with sanding and finishing, where a flat surface is the goal. Our sandpaper grit guide pairs well with a straightedge or level when you want to check that a sanded surface is flat.
Frequently asked questions
Is a laser level more accurate than a bubble level?
Not automatically. A laser covers longer distances easily, but accuracy depends on its calibration and specification. A good bubble level is accurate over its own length. Use each for what it does well.
Do I need a green laser?
Green is easier to see in bright rooms and at distance, so it helps indoors with a lot of light. Red is cheaper and fine in dim rooms. Outdoors, a detector matters more than colour.
How do I check my bubble level?
Place it on a flat surface, note the bubble, turn it end for end and read again. If the readings match, it is true. If not, the vial is off by half the difference.
Can I use a laser level outdoors?
Yes, but the beam is hard to see in daylight. Use a laser with pulse mode and a detector, or a rotary laser, and mount it on a stable tripod.
What length of bubble level should I buy?
A 60 cm level is a good general choice, a longer one suits long runs, and a short torpedo level helps in tight spots. A longer level averages out small surface bumps.
The bottom line
Use a bubble level for single surfaces and short spans, and a laser for lines across rooms and over distances. Choose a line laser, ideally green, for interior work, a rotary laser with a detector for large outdoor jobs, and a dot laser for transferring points.
Check every level before use with the flip test or a laser calibration check, treat lasers with eye safety in mind, and keep a good bubble level as a reference even if you buy a laser.